This short guide opens you up to the world of using Proxifier to manage residential proxies. You will learn exactly how to use residential proxies from IPBurger and plug them into the Proxifier extension.
What is Proxifier?
Proxifier is a proxy management system that allows you to apply settings and controls to your proxies. In other words, it will enable you to run any network application through a proxy server. The software requires no particular configuration, and the entire process is entirely transparent.
Why use Proxifier?
Proxifier has unique applications that help users unlock various proxy controls.
- Access the internet from blocked networks through proxy server gateways.
- Bypass firewalls
- Force all network connections to work through a proxy server, including system connections
- Use a proxy server to resolve DNS names
- Create Proxification Rules using the host and application name wildcards
- H your IP address and ensure your privacy
- Use diverse protocols to work through a chain of proxy servers
- View real-time information like connections, times, hosts, usage, and bandwidth on current network activities
- Maintain traffic dumps and log files
- Get complete reports on network errors and much more.
What are residential proxies?
Residential proxies are IP addresses from other real user devices that you can route your web traffic through. Instead of seeing your IP address, the website or application sees the IP of another user.
Proxifier + Residential Proxies
The IPBurger dashboard and browser extension already have many of the same functions as Proxifier. However, the controls are more diverse through Proxifier and can help accomplish special protocols within web scraping applications. Also, you can better hide your identity and combine proxies from different sources.
Setting up Proxifier with residential proxies.
1. Download and install Proxifier.
2. Open both Proxifier and your IPBurger Dashboard.
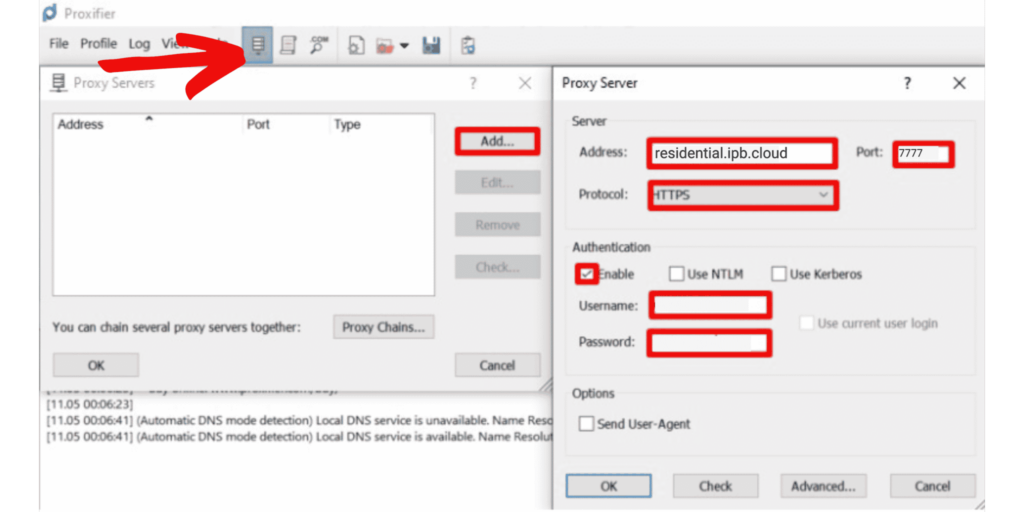
3. Go to Proxifier and click on Proxies → Add. Leave the window open for the next instructions.
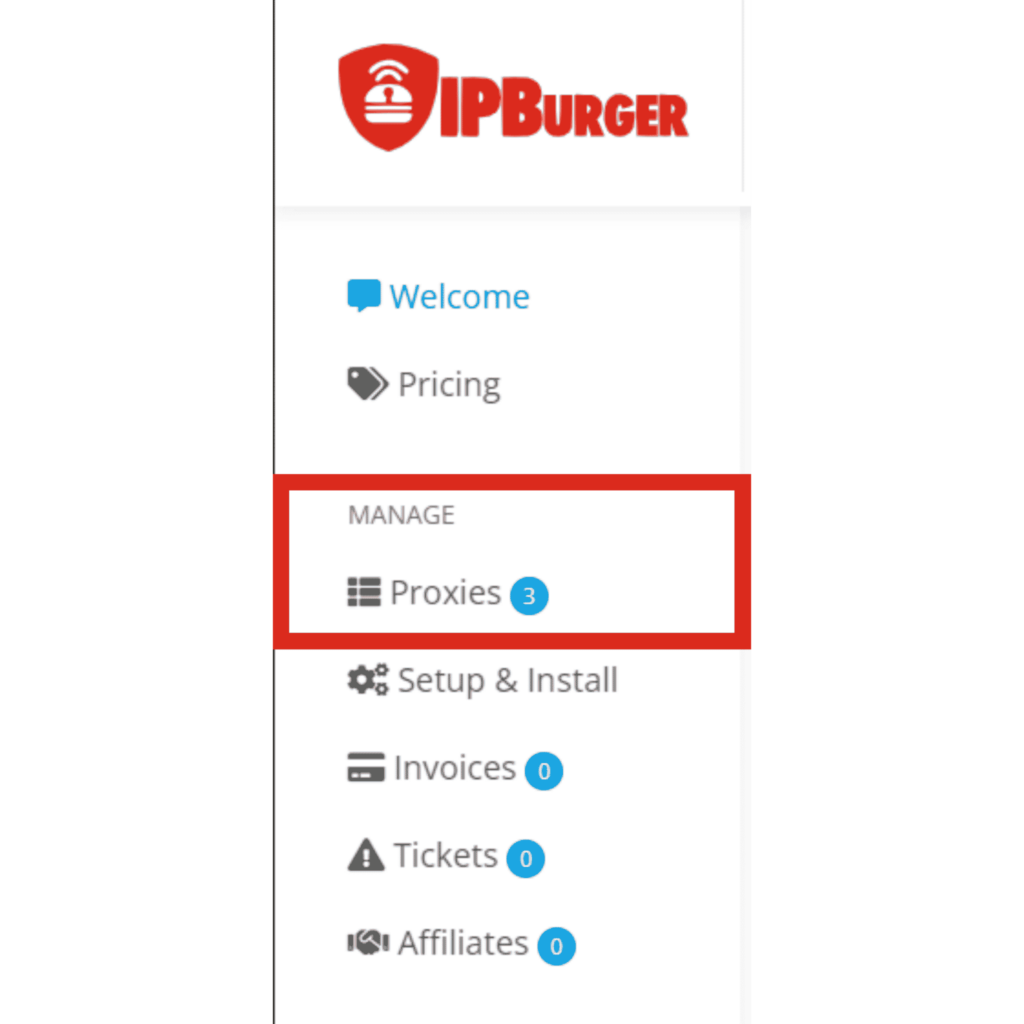
4. On your IPBurger Dashboard, go to Manage → Proxies and select your Residential Proxies plan.
5. From the menu on the right side of the page, configure your Proxy User Settings.
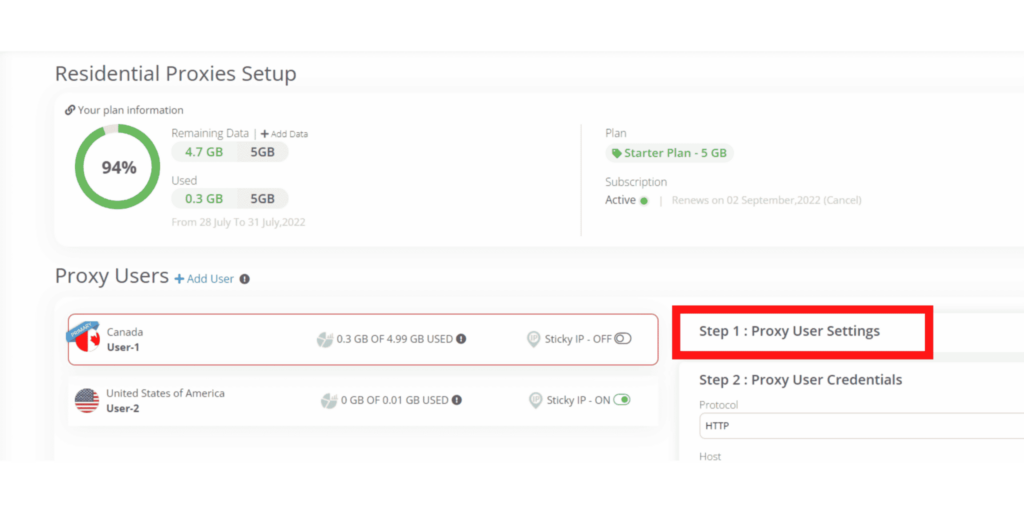
6. One at a time, copy the Protocol, Host, and Port from the Proxy User Credentials menu and paste them into Profixier. Do the same with the username and password if your IPs are not whitelisted.
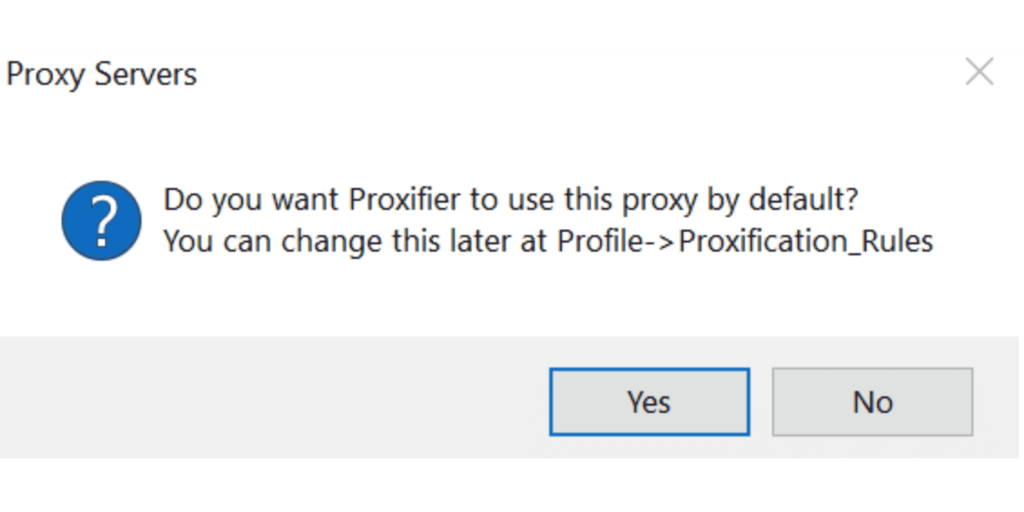
You’ll get a pop-up asking if you want this proxy to be a default for all applications. Select No if you want to set up a proxy for specific applications only.
To enable HTTP server connection, go to Advanced → HTTP Proxy and select Enable HTTP proxy servers support.
If you want to set up specific applications only:
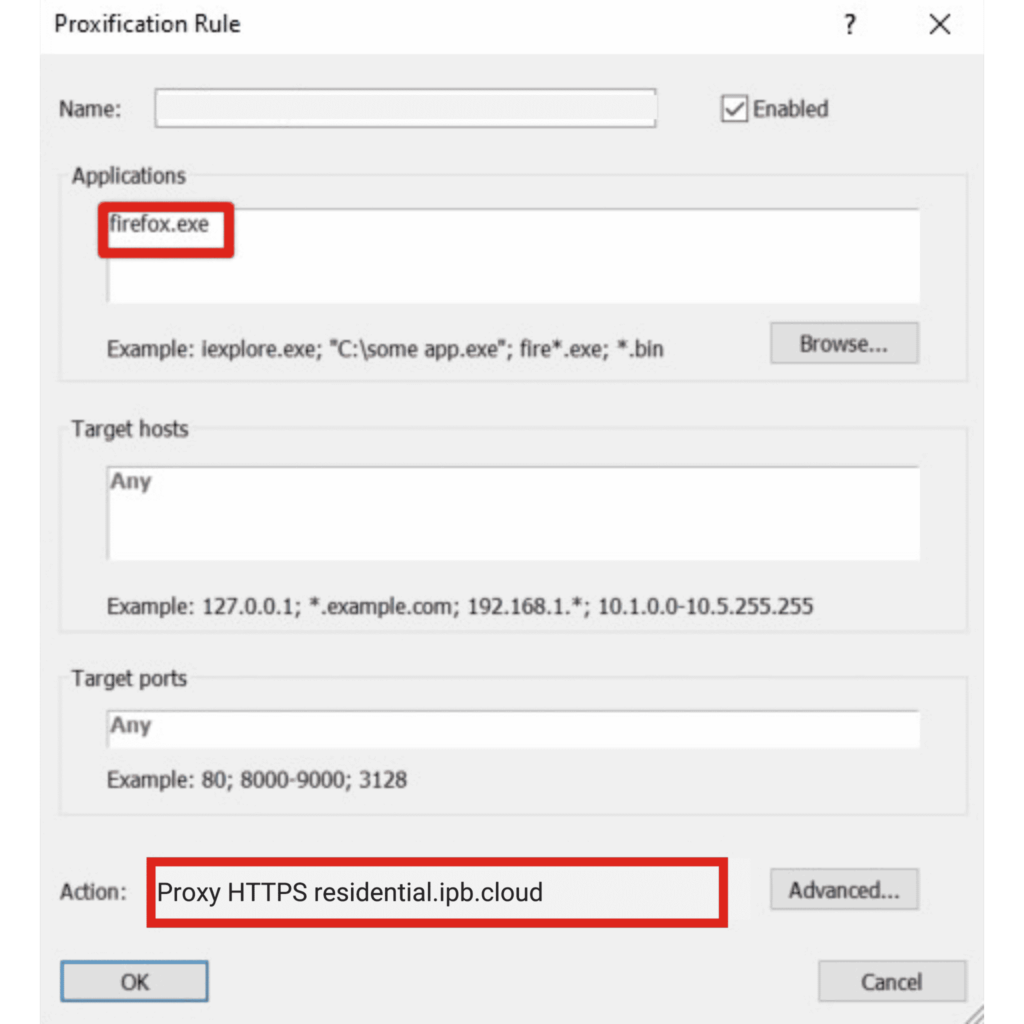
- Go to Rules → Add.
- Browse and select the specific application in the Application section.
- Leave Target Hosts, and Target Ports set to Any.
- For Action, enter the IPBurger host address as shown in the image below.
